Sound quality matters a lot. So, if you’re a music lover, you know exactly what that means. You want to hear all the elements of the songs. That includes not just the lyrics, but the instruments as well. it’s for that reason that some music lovers like to burn Apple Music to CD. They get better sound quality from a CD.
If you’re not aware of how to burn Apple Music to CD, don’t worry. You can learn how to do it. Before you jump right into it, there’s just one thing you need to know about Apple Music.
Contents Guide Part 1. What You Need to Know About Apple MusicPart 2. Remove DRM Protection from Apple MusicPart 3. How Do I Burn Apple Music to CDPart 4. Conclusion
There is something that you need to know about Apple Music. if you’re already using this particular music streaming service, then you might know it. Nonetheless, it wouldn’t hurt to expand your knowledge of it.
Apple Music is, no doubt, awesome. However, the songs on it are all protected by something that’s called Digital Rights Management or DRM. Surely, this sounds familiar to you already.
It’s because of the DRM that you can only play Apple Music on certain devices. Even if you’re on a paid account, the songs are still protected by DRM.
The DRM will not allow you to transfer any of the songs from Apple Music to any unauthorized devices. So, if you want to burn Apple Music to CD, you need to remove the DRM first.
Now that you know about the DRM on the songs from Apple Music, the first thing you need to do is to remove it. The fact is, you won’t be able to burn Apple Music to CD if you don’t remove the DRM first.
If you want to learn the easiest way to remove DRM, then read on to familiarize yourself with the program that you can use. The program is called the DumpMedia Apple Music Converter and yes, it removes the DRM from the songs as it downloads and converts them. You can listen to Apple songs on PC and keep them on mac.
Take a look at the simple steps below to see how you can use this program to remove DRM.
Step 1. Download the Program
Step 2. Choose and Add Songs from Apple Music
Step 3. Check Output Setting
Step 4. Convert and Download
Read on to see the detailed steps on how to use the DumpMedia Apple Music Converter.
You can download the program here. The DumpMedia Apple Music Converter is now available for Mac users. If you’re a Mac user, just click on the I need a Mac version in the middle of the screen. Windows users would just have to wait until their version is ready. That will be pretty soon. After you download the DumpMedia Apple Music Converter, make sure to install and launch it on your Mac.
The good thing about the DumpMedia Apple Music Converter is that once you download and install it, it automatically links to your Apple Music. Hence, when you launch it on your Mac, you will see your Apple Music on the left-hand side of the screen. Simply click the Apple Music for all the songs to appear on the main screen. Then choose the songs you want to convert.

You will see the Output Setting on the bottom part of the screen. Make sure to adjust the Output Format and the Output Path. For the former, you can choose any file format that you like. Then for the latter, choose a location to save your songs.
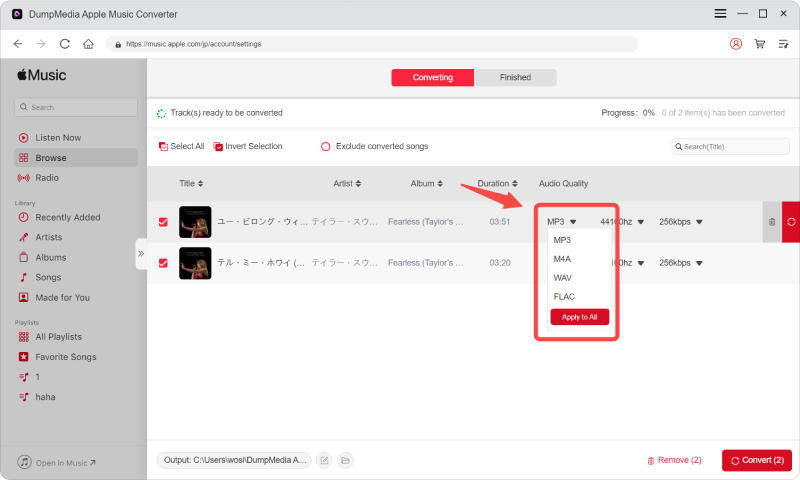
You are all set to convert and download the song or songs. Once you click on the Convert button on the bottom part of the screen, the song or songs will be downloaded and converted. As the DumpMedia Apple Music Converter is downloading and converting the songs, it is also removing the DRM. Once all the songs have been downloaded and converted, you won’t find the DRM on them anymore.

Now that your songs are without DRM, you can now burn Apple Music to CD on your Mac. For this part, you would need an empty CD. Read the steps below to see how you can do it.
If you had saved the music you downloaded with the DumpMedia Apple Music Converter on your desktop, then you’re good to go. If you had saved it somewhere else, then paste it on to the desktop.
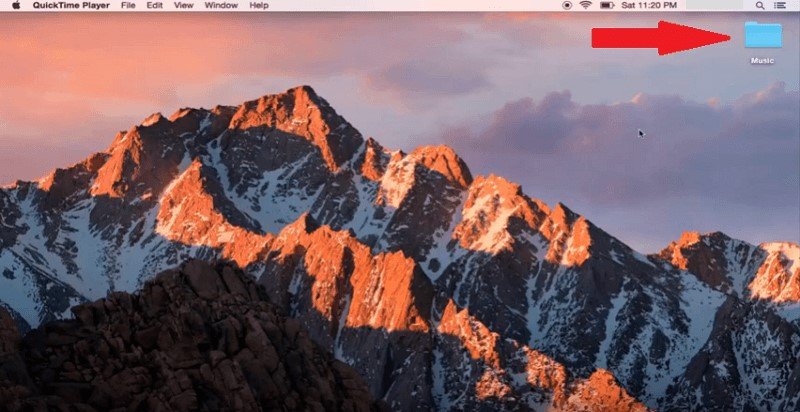
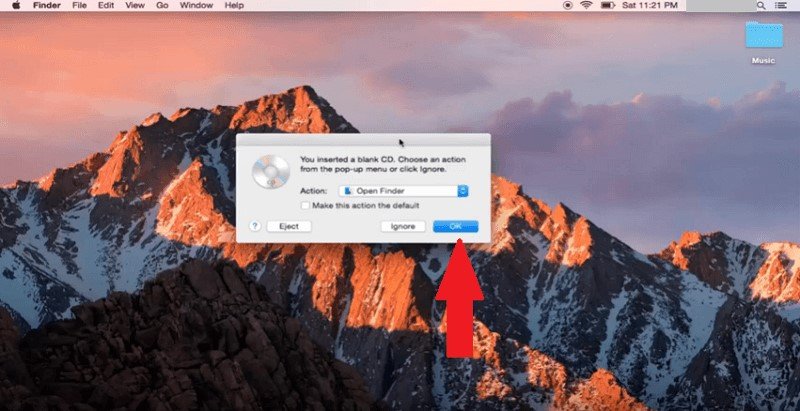
Take the empty CD and slide it into the disk drive. If your Mac does not have a disk drive, then you can always attach an external CD drive. Wait for it to load. You will see a pop-up window once it’s loaded. Click on the OK button.
Now, you’re all set to transfer music to the CD. Just do a right-click on the folder that contains your songs and choose Burn “Music” to Disc from the drop-down menu.

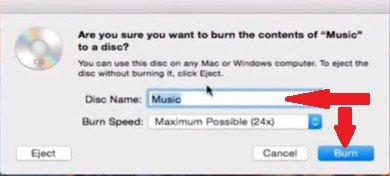
A pop-up window will appear. There you can name the CD. After you have done so, click on the Burn button. Wait for the process to finish, once it’s done, you can click on the CD on the desktop to play the songs.
There you have it. You now burn all your favorite songs from Apple Music to a CD. As you can see, it’s not so hard to do it.
Do you burn music to CDs? If yes, how do you usually do it? Feel free to share with our readers some of your tips and tricks.