Whether you are an Apple Music subscriber or an iTunes-loving Apple fan, playlists are indispensable to your music management. Playlists compile and organize your music collection for you to access conveniently without going over your library back and forth.
You make playlists to create soundtracks for a particular mood or occasion. Or you want to organize an album of songs for sharing or safekeeping. Creating these playlists is easy but your compilations could pile up and might also need maintenance.
How to delete a playlist on Apple Music or iTunes? Deleting a playlist is as easy as creating one. This article will answer your question and provide the steps for all your Apple devices. Are you worried about removing the songs along with your playlists? Your concern is valid as the thought of losing a vast collection of music brings anxiety to any music lover.
Contents Guide Part 1. Will Deleting a Playlist Delete the Songs?Part 2. How to Delete a Playlist on Apple Music?Part 3. Bonus: How to Download and Back up Apple Music PlaylistsPart 4. In Conclusion
When you delete a playlist from your library, only the playlist is removed. The songs from your library will not be deleted, nor the downloaded audio files from your computer or device. Your Music app or iTunes database keeps the playlist. And a playlist is only a database entry or a set of information that contains the links to the individual tracks.
So when you select a playlist from the Apple Music or iTunes library and hit that delete button, the database is updated to remove those links associated with the playlist and nothing more. Now that you have the assurance of keeping your treasured tunes read on how to delete a playlist on Apple Music and iTunes.
Step 1. Launch the Music app on your Mac. Shown on the left side, select the playlist to be deleted.
Step 2. Press the "delete" key on your keyboard or right-click, then select "Delete" on the drop-down menu.
Step 3. Confirm removal with "Delete Playlist," then select "Move to Trash."
Step 1. Open the Music app. Check that the 'Library' tab is highlighted below and tap on 'Playlists.' If you don't see 'Playlists,' tap on 'Library' first.
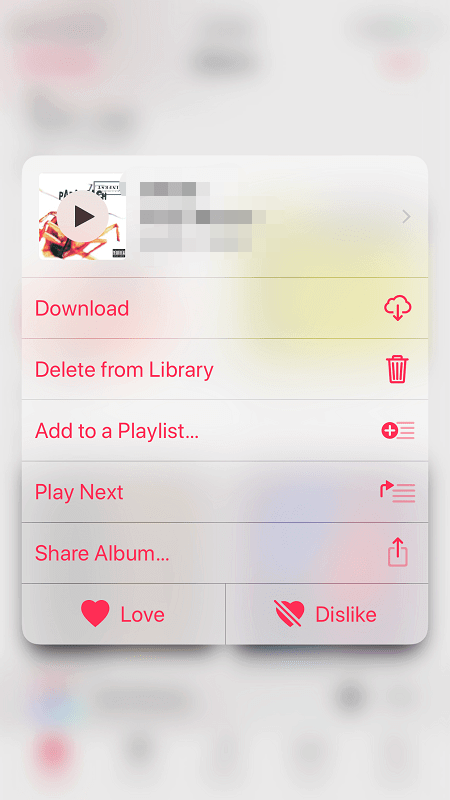
Step 2. Select the playlist to delete by tapping and holding. Select 'Remove' for downloaded playlists, otherwise "Delete from Library."

Step 3. Confirm removal depending on whether the playlist is downloaded to your device or not.
If the playlist exists on your other devices but is not downloaded on your device, the option is "Delete Playlist." The playlist will be removed from your other connected devices.
If the playlist is downloaded to your mobile device, the option is "Delete from Library." The playlist will be removed from all your connected devices.
Step 1. Run iTunes and click the Music icon found in the upper left corner. You should see all your created playlists.
Step 2. Select which playlist to delete. Right-click on the playlist and then choose 'Delete.'
Step 3. Confirm to delete the playlist.
Step 1. When connecting your iPhone to a computer with a USB cable, iTunes will start automatically. Launch iTunes manually if it doesn't start.
Step 2. When iTunes detects your device, click on the iPhone icon. On the iPhone settings shown on the left, select Music.
Step 3. Check "Sync Music," then tick on "Selected playlists, artists, albums, and genres." Select the playlist(s) you need to keep on your iPhone, then click the Apply button at the bottom right. Wait for the sync to finish. The playlist(s) you selected should be on your iPhone.
Note that if automatic sync in iTunes is enabled, your device will sync with iTunes upon detection when connected to your computer. Please take care in deleting playlists with sync.
Did reading the words "delete the songs" give you a mini heart attack? As you have learned, deleting a playlist does not delete the songs from your library or device. However, some unintentional operation mishaps or sync accidents might delete your songs.
A typical case is syncing your song-filled iPhone to a new or different computer. Since the syncing process goes one way, from computer to device, your iPhone music collection could be wiped out in an instant! This is why you need a backup of your music on your computer or any appropriate storage.
For a smooth operation with Apple Music/iTunes, try the DumpMedia Apple Music Converter. This converter can download and back up all songs from your playlist or any music or audiobook from your library in a few steps. What's more, the music you can back up is not only limited to your purchased music but also tracks from Apple Music (to keep after canceling your subscription).
DumpMedia Apple Music Converter backs up your tunes by removing Apple songs' DRM protection and converting them to your preferred format like MP3, FLAC, etc. Convert thousands of songs and audiobooks from your music library in minutes without compromising the quality. Without DRM protection, you’re free to play it on your other devices or outside Apple Music and iTunes.
Now, you have learned how to delete a playlist on Apple Music or iTunes with confidence, knowing that you don't lose the songs from your library or device. Just be careful in using iTunes' sync function, especially with automatic enabled. It is a best practice to back up your music for added security. And, the DumpMedia Apple Music Converter is a practical tool to use. Download and convert your playlists for safekeeping.
This software has proven to be more helpful, making your music portable as you can customize the output settings and file format. After removing the DRM protection, you can convert and save songs, albums, or playlists to common audio files without losing audio quality. As an added extra, enjoy your music on any device anytime, anywhere, Apple or non-Apple.
