
The wonders of technology. You can now listen to music on any device. The portability of music has leveled up. It’s just amazing. Just when you thought it was awesome enough, it gets even better because now you can even cast your music on television. Thanks to Chromecast, you can stream music on your television.
Yes, you can now finally play Spotify music on Chromecast. Just as long as you have a Chromecast attached to your television, you can stream your music to it. It’s pretty easy to play Spotify music on Chromecast. This article will show how you can do just that. It will also show you how you can seamlessly play Spotify music on Chromecast.
Contents Guide Part 1. What Exactly Is Chromecast?Part 2. How to Play Spotify Music on ChromecastPart 3. How to Cast to TelevisionPart 4. Conclusion
Chromecast is pretty similar to Apple TV or Roku. It allows you to stream content from your smartphone, laptop, or iPad to your television. It works very well with Netflix and YouTube. So, aside from the usual television channels, you have more options to watch.
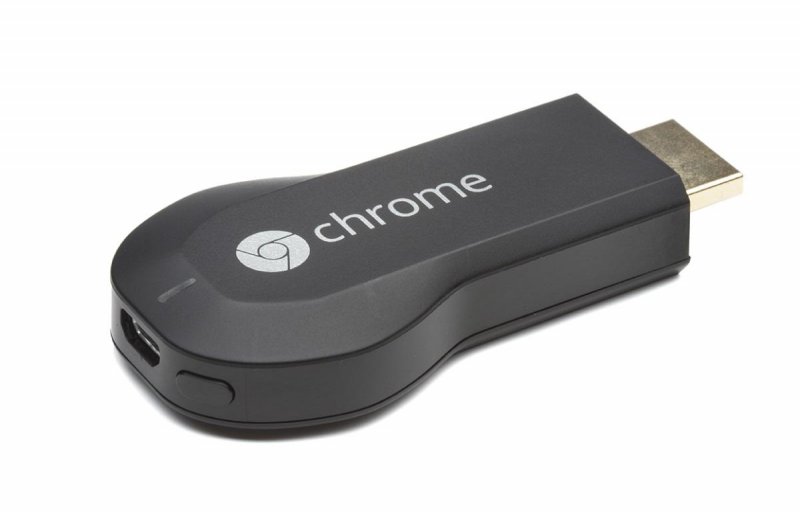
A Chromecast is a little gadget that you attach to the back of your television. It’s pretty simple to attach to the back of your television. It plugs right into the HDMI port of your television. It has a power cord that has to be plugged into an outlet.
Once you’ve plugged in both the Chromecast and cable, go to your HDMI input on your television. From there, you’re all set to cast from your preferred device. So, if you want to play Spotify music on Chromecast, you just click on the square icon on the Spotify app. Casting will be automatic.
If you’re on a free Spotify account, you won’t just be casting music but the ads that come with your account as well. That could be pretty annoying. You wouldn’t want to see or even hear the ads on your television, would you? A way to play Spotify Music on Chromecast seamlessly on your television is by using the DumpMedia Spotify Music Converter.
This program converts and downloads your Spotify playlist on your computer. That way, you only end up casting your music and not the ads that come with your free Spotify account. Check out the easy ways to use the DumpMedia Spotify Music Converter.
Step 1. Download the DumpMedia Spotify Music Converter
Step 2. Add Songs and Playlist to the DumpMedia Spotify Music Converter
Step 3. Choose a File Format and a Location
Step 4. Convert Your Songs
Below are the detailed steps on how to use the DumpMedia Spotify Music Converter so that you could seamlessly cast your playlists to your television.
You can find the DumpMedia Spotify Music Converter here. Once you click on the link, you will be taken to the page where you can download the program. If you want, you can try their free download first to get a feel for the program. Once the DumpMedia Spotify Music Converter is downloaded and installed, launch it on your computer.
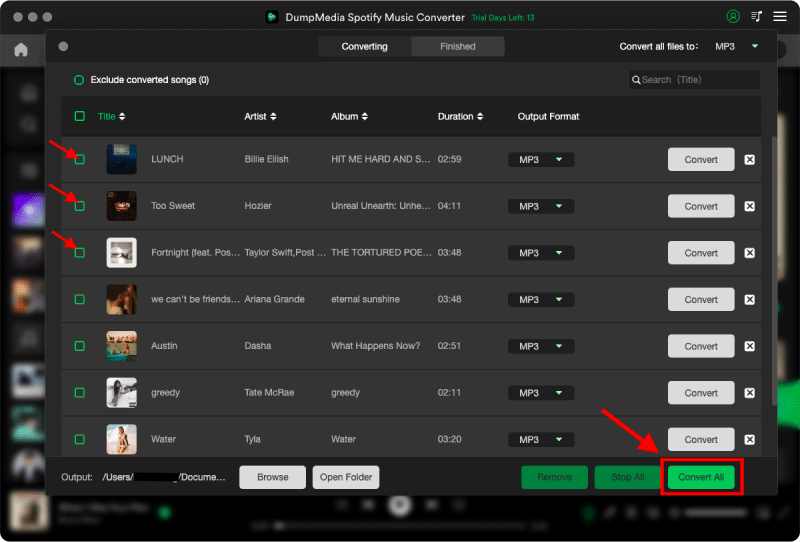
Make sure your Spotify account is launched and you’re logged into it. At the same time, the DumpMedia Spotify Music Converter is also launched on your computer. From your Spotify account, drag the song you want to add to the DumpMedia Spotify Music Converter. You can also copy the song’s URI on Spotify so that you could paste it on the DumpMedia Spotify Music Converter.

Now that you have added your favorite playlist from Spotify on the DumpMedia Spotify Music Converter, you can choose a file format. Just take your cursor to the top, right-hand side of the DumpMedia Spotify Music Converter to choose a file format. Click on the box next to Convert all tasks to and choose a file format. Then go scroll down and click on the Browse button to choose a location for your playlists.

Now, you’re all set to convert your playlist. Simply take your cursor to the Convert button and click on it. Your playlists will automatically download and convert. They will be saved in the folder that you have created in step 3. While the DumpMedia Spotify Music Converter is downloading and converting your playlists, it’s also removing the DRM. Hence, you can easily transfer all your downloaded playlists to any device like your iPhone or tablet.
With all your favorite playlists from Spotify downloaded, converted, and transferred to your iPhone, you’re all set to cast. You are all set to cast your playlists on your television. You won’t have to deal with any ads on your television, thanks to the DumpMedia Spotify Music Converter. Below are the steps on how you can use the Chromecast to cast your Spotify music on your television.
It’s very easy to set up Chromecast. You just have to plug it into the HDMI port of your television.
Open the folder where you saved your newly downloaded and converted songs. Once you have done so, you would have to choose the location where you want to cast. The locations will show up on a pop-up window. Choose one.
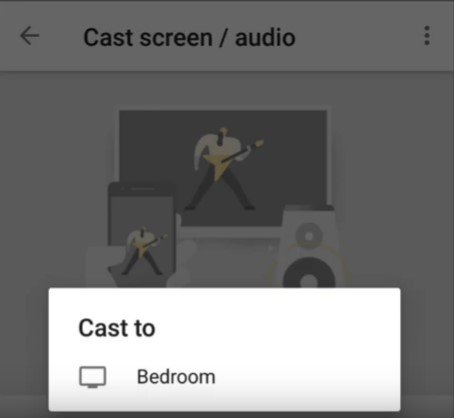
Open a playlist and play it. To cast it to your television, look for the cast icon on top of the screen and click on it.
Now that you have cast your music with Chromecast, you can now listen to your newly downloaded playlists without the ads and the skips.
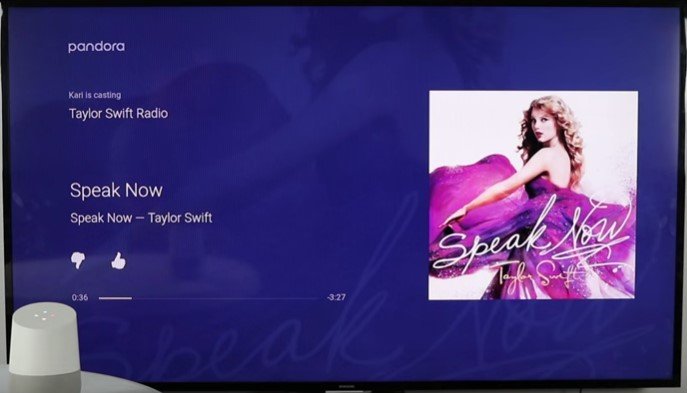
It’s great to have a Chromecast. You can cast your music, videos, and photos on your television. It turns your regular television into a smart one. You just have to make sure that you have a strong internet connection.
Have you tried casting your music on your television? Feel free to share with our readers your experience. They would love to hear from you.
