Listening to Spotify songs is surely one of the past times of many people nowadays. If you are a Spotify lover but cannot afford the monthly subscription for a Spotify premium, you probably are encountering issues about repetitive advertisements. Well, this article will show you the list of the best Spotify Ad blockers for Mac computer which you can fully utilize.
Currently, Spotify premium costs 9.99 USD. This could be a huge amount for many. This is why they just ought to use the free version wherein they are encountering repetitive and numerous advertisements. Ever experienced this?
You are at the peak of listening to your favorite song and suddenly an advertisement popped up. Quite disturbing, isn’t it? However, you cannot do anything about this because you are just using the application for free!
If you have been facing this dilemma up until today, you are lucky! This post will surely help you remove such advertisements especially if you are using a Mac computer. Now, make sure to stay tuned and keep on reading this post to know more.
Contents Guide Part 1. Blocking Spotify Ads By Subscribing To A PremiumPart 2. List Of Spotify Ad Blockers For Mac ComputersPart 3. In Summary
Of course, the easiest way to remove the advertisements you are hearing is to have your application upgraded by buying or paying for a monthly subscription. As previously mentioned, such will cost you about 9.99 USD. The advantage of doing this is that there would be no need for you to play your Spotify songs over the internet and you can even download the songs for playback offline.

If you got a poor data connection, this could be an option for you.
Here is how you can get the premium version.
Step 1. Head to Spotify’s official website and tick the “Get Spotify Premium” button.
Step 2. Enter the payment details needed.
Step 3. Hit the “Start My Spotify Premium” option.
Look into this procedure in detail.
The first thing that you need to do is to head to Spotify’s official website. Once arrived, you just need to look for the “Get Spotify Premium” option to proceed. Just hit the button to continue.
You do not need to worry since Spotify will let you enjoy the premium for trial by paying only 0.99 USD each month for three months. After that period and you decided to but the premium, that is the time that you would be needing to pay for the 9.99 USD amount on a monthly basis. You just need to enter your payment details and information.
Once done, just hit the “Start My Spotify Premium" button which is located at the bottom portion of the screen.
Now, if you are still undecided if you will be buying a premium version, the next resort would be trying out some Spotify Ad blockers on your Mac computer. Here is the list.
There are actually a lot of Spotify Ad blockers which you can see in the web. Those that would be presented in this part are only some of the best and those which have been proven already by many to be functioning well.
Let us go to the first one.
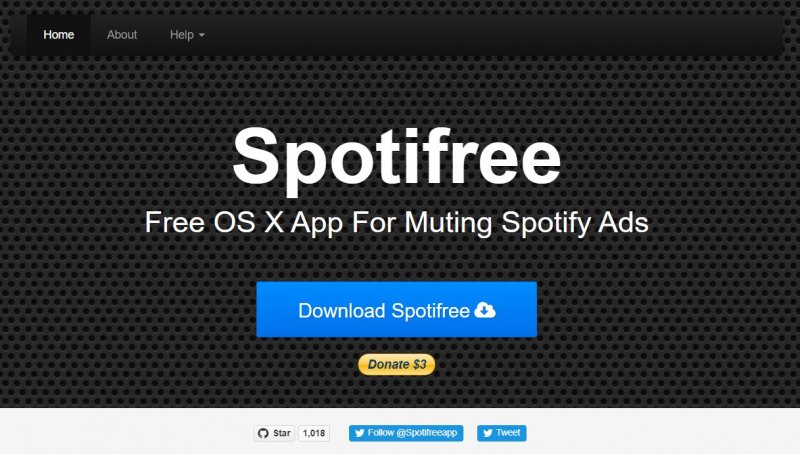
For Mac users, the one which is actually most recommended is this Spotifree. This is an amazing application that has the capability of blocking those Spotify Ads and is supported by Mac computers. Many are actually using this application up until today. You can have this downloaded directly from the web by just heading to its official website.
To be able to use this, you just need to have this downloaded and run on your Mac computer as it automatically mutes the ads on your Spotify application and immediately unmutes right after the ads have been finished.

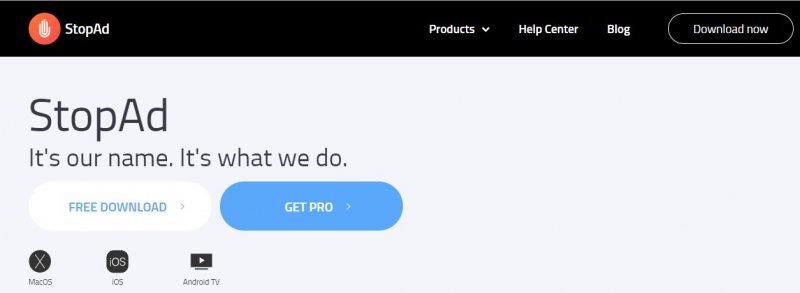
Apart from having Spotifree, you can also try to use this StopAd application. Same with the first one, it has the capability of blocking the Spotify ads on your Mac computer as it supported by both Windows and Mac computers. The only drawback it has is that this is still not yet capable of blocking the ads while you are running the Spotify application on your mobile phone.
In using StopAd, you have two methods depending on how you are using the Spotify application.
Here are the steps for your reference as well.

If you are utilizing the Spotify desktop application, you can check out the below guide.
Step 1. Ensure that StopAd has been properly downloaded and installed on your Mac computer.
Step 2. Launch the program and head to the “Settings” option which you can immediately see at the bottom corner of the page.
Step 3. Ensure that the “Applications” button will be ticked followed by clicking the “Search app”. Make sure that you enter Spotify in it.
Step 4. Lastly, check the box alongside “Spotify and hit “Add to filtering”.
Now, if you are using Spotify Web Player, read the next method.
Step 1. Make sure that Web Assistant from StopAd has been properly installed.
Step 2. Once done, launch the program. Click the green button and ensure that “Ad Blocker” has been enabled properly.
Step 3. You can now add and remove any site including Spotify from the list that you will see for the application to function its purpose – the blocking of Spotify ads.
Aside from the first two, you can also resort to the option of modifying the host file to be able to block the advertisements you are hearing on Spotify. You can do this even if you are using your Mac computer.
Here are the steps for your reference.
Step 1. If you are a Mac user, open the host file by typing “vim /etc/hosts or sudo nano /etc/hosts”.
Step 2. The next step would be pasting the list at the bottom of the file you will see. Make sure to save the edited file.
Step 3. Now, you can begin playing the Spotify application to test if ads have been blocked.
Discussed in this post are the three Spotify Ad blockers for Mac you can make use of in case you are playing Spotify on your Mac computer. There are still a lot of options you can find on the web, but this article highlighted the three best among all.
If you want to listen to Spotify music without any advertisements offline, you can choose to download a music converter called DumpMedia Spotify Music Converter. It can remove DRM protection from Spotify.
Ever tried using any of the above? What was your experience?
