
Music streaming services are abundant. That’s good for everybody. There are more options and one such option is Google Play Music. If you have not tried using Google Play Music, then it’s about time you look into it. If you have been using it, then it’s about time you know how to transfer Google Play Music to iTunes. By doing so, you will be able to consolidate all your music into one location.
This article will show you how to transfer Google Play Music to iTunes. Just keep on reading and make sure to read until the end to see how you can also put more songs from other music streaming services on iTunes.
Contents Guide Part 1. Everything You Need to Know About Google Play MusicPart 2. How to Transfer Google Play Music to iTunesPart 3. Bonus: Add More Songs to Your Music CollectionPart 4. Conclusion
The Google Play Music app has adopted a card view design that you would find in the Google Play Store. Hence, the design elements resemble some Google apps.
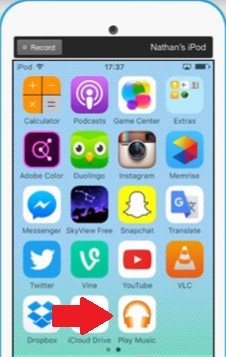
When you open the interface and click on the top left, you will see a list where you will find the following: Listen Now, My Library, Playlists, Radio, and Explore.
This list not only helps you enjoy your library but it gives you an interface to explore Google Play Music and the content that you can find there. When you go to any area where there are artists, songs, or playlists; they show up as little cards. This kind of interface is a lot pleasing to look at. At the bottom right is a button with three dots.
It’s pretty easy to use. You open the app and select some music. Google Play either plays your music from your device or streams it from your library if you have uploaded it to Google. You can browse music from the Google Play app. While you can try it out for free, the paid subscription service cost about ten dollars a month.
In terms of downloading, you can do it to songs that you have purchased already. If you’re paying for the monthly, you can download from it and listen offline. Keep in mind that there are songs on Google Play Music that are available for free download. Just type in the search box Free Music.
The good thing about Google Play Music is that you can easily transfer the songs to your iTunes. You don’t have to worry about Digital Rights Management or DRM. The songs are free of DRM which means you can download them and play them on any kind of device. The steps below will show you how to transfer Google Play Music to iTunes.
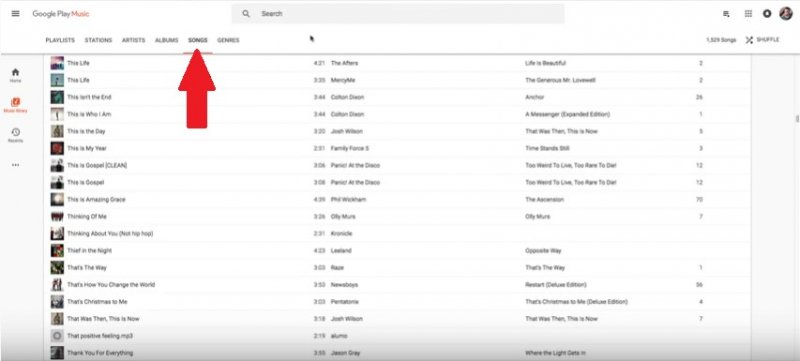
Log into your Google Play Music account. Go to the music section and click on the Music Library. At this point, the Song section is showing on the main screen.
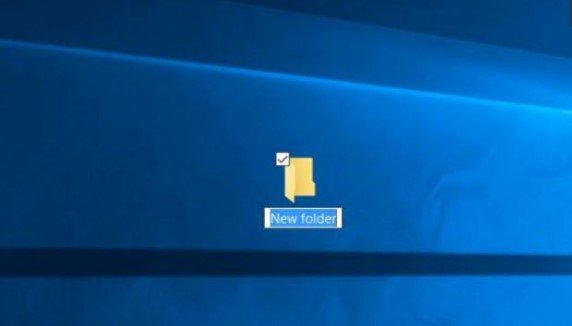
Do right-click on space on your desktop, and Click on New from the drop-down list. Another drop-down list will appear. Choose a Folder and rename it.
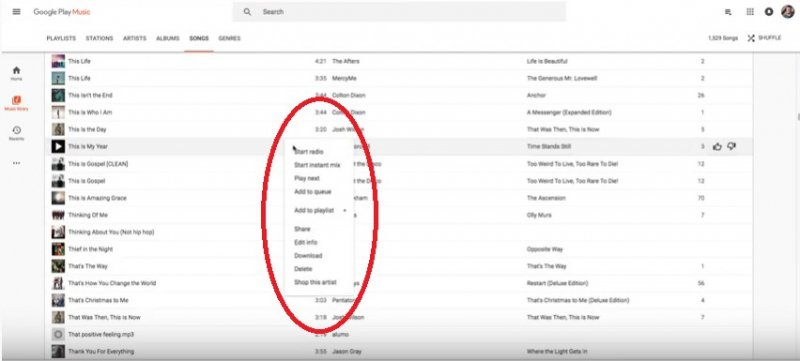
Hover over a song on the main screen or click it. Then click on the three dots and choose Download from the drop-down list.
A pop-up message will appear. Check on Select Download Location. Once you have done so, look and select the folder that you have created in Step 2. That way, all the songs that you will download will automatically be saved in that particular folder.
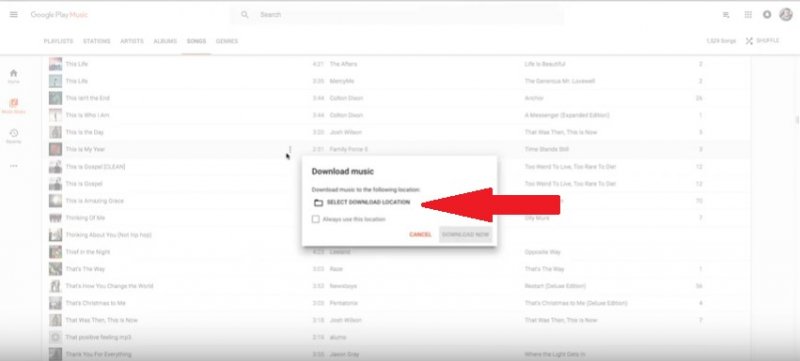
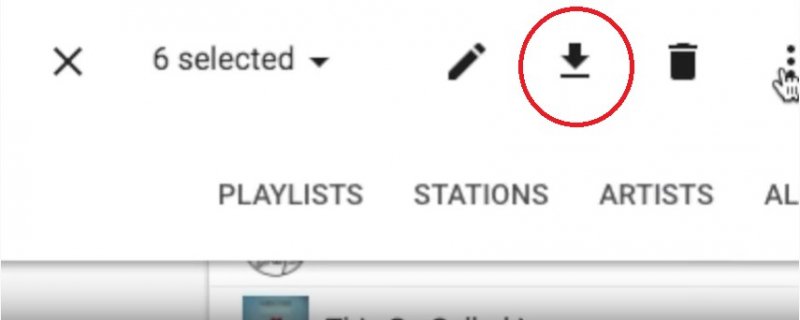
You can also download multiple songs from Google Play Music. Click on the first song, hit shift on the keyboard then click on the last song. All the songs you want to download will be highlighted. Take your cursor to the top screen and click on the download icon. A pop-up message will appear. Make sure the Download Location is the folder created in Step 2. Then click on the Download Now button.
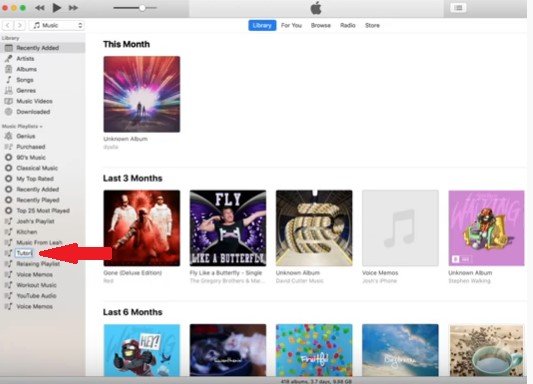
Launch iTunes and create a folder on the left panel of your iTunes. This is the folder where you will store your newly downloaded songs on iTunes. Open the folder where all your newly downloaded songs from Google Play Music are located. Highlight all the songs and then transfer or drag them to the folder you have just created on iTunes.
The good thing about music streaming services is that you can try them out for free. Apple Music is no different. You can sign up for free for a limited time. Downloading music for free is not possible within the app if you’re trying it out for free. However, the DumpMedia Apple Music Converter can get the job done even if you’re trying out Apple Music for free.
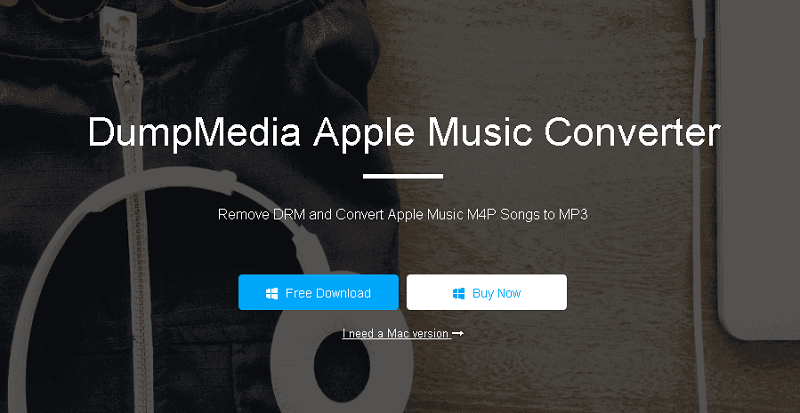
You see, the DumpMedia Apple Music Converter does exactly what it promises to do, convert songs. As it converts songs from your free Apple Music account, it downloads and removes the DRM.
You’re not just able to transfer it to your iTunes but to other devices as well. You get to move your music from one device to another without having to upgrade to a paid Apple Music version. You will be able to add more songs to your music collection with the DumpMedia Apple Music Converter. You can learn more about it here.
It’s high time you give Google Play Music a try. If you have been using other music streaming services, why not widen your options by checking out Google Play Music?
Now that you know how to transfer Google Play Music to iTunes, you’re sure to have a more interesting music collection. With the use of the DumpMedia Apple Music Converter, you can even add more songs to your collection without having to deal with monthly payments.
Have you tried using Google Play Music? Our readers would love to hear from you.
