You turn to your iTunes. You’re excited to listen to some music. Then you notice that iTunes greyed out songs. You wonder what’s happening.
This is a problem that crops up from time to time. If it’s the first time for you, don’t worry. You can do something about it. If it has been a persistent problem, then don’t you think it’s about time you know how to deal with it. Instead of getting annoyed and irritated, you can do something when you notice that iTunes greyed out songs.
Contents Guide Part 1. Why iTunes Greyed Out Songs?Part 2. How Do I Fix iTunes Greyed Out Songs?Part 3. Bonus: Download Songs with DumpMedia to Avoid Issues with iTunesPart 4. Conclusion
There is a reason why some songs are greyed out on iTunes. If you look closely, you will even see an exclamation mark next to each track.
When you see those warning signs, you won’t be able to play the tracks. An error message will also appear as a pop-up window when you attempt to play the tracks. There is no way you can synchronize your iPod or Apple TV.
So, what’s happening to your iTunes? One of the reasons is that the connection to the iCloud Music Library is lost. Another reason is that the song or songs aren’t available in the country you’re located in or in Apple Music. It could also be that iTunes greyed out songs because of the restricted content. These are some valid reasons as to why you’re seeing those grey areas in your iTunes.
It’s also important to bear in mind that you should not connect your iPod at this stage. There is a danger that you might lose everything that’s on it.
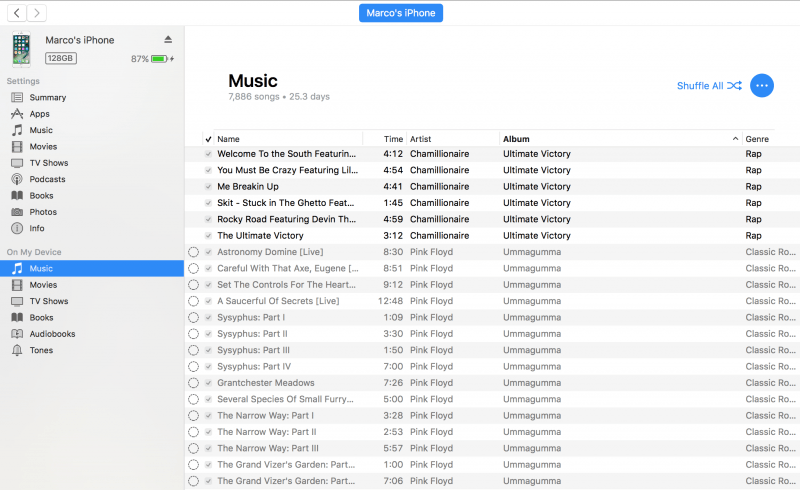
This issue is relatively easily corrected. Read on to learn more about the solutions that you can make use of in case it happens to you.
Before you panic and do something drastic, try checking the settings of your iTunes first. It could be that some songs have been set to be greyed out. Follow the steps below to see how you can check the settings of your songs on iTunes.
Launch your iTunes and take your cursor to the song that has been greyed out.
Once you have taken your cursor to the song that has been greyed out, do a right-click on it.
Once you do a right-click on the song, a long list of options will appear on a drop-down menu. Scroll down and click on Check Selection.
You should be able to play the song once you have clicked on Check Selection.
This might sound like a drastic move but don’t worry. Just follow each step mentioned below to make it work. The steps are very simple.
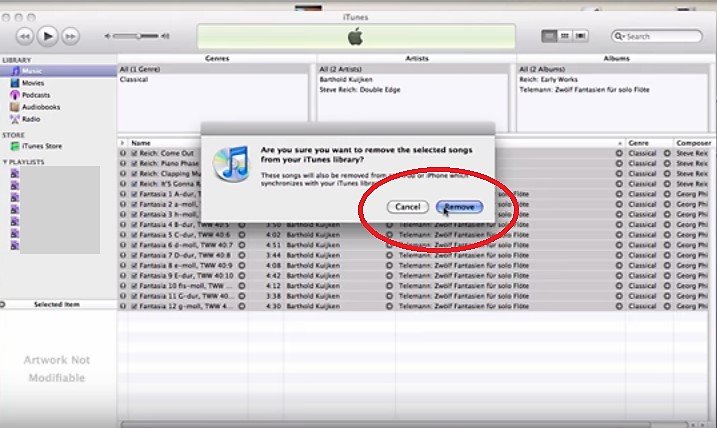
Select all the tracks in your library and delete them. Don’t worry. You will get them all back.
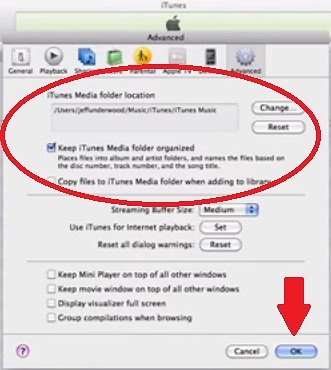
Check the Settings of your iTunes. Click on iTunes on the top menu and click on Preferences from the drop-down menu. Take a look at the iTunes Media folder location. That is where you will be storing the music. Bear mind not to tick the box before Copy files to iTunes Media folder when adding to library. You will end up with duplicate files especially if the location of your music folder is a free-standing hard drive.
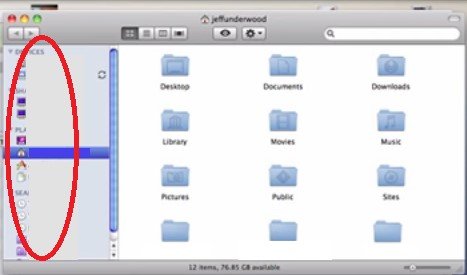
Make sure that the drive with the music saved on is attached to your computer. Plug-in the drive and check if it’s there.
Now, you can import the music from the hard drive back to your iTunes music library. Go to File on the top menu and select Add to Library. Select the device where the music is stored. All the songs should be back in your iTunes music library.
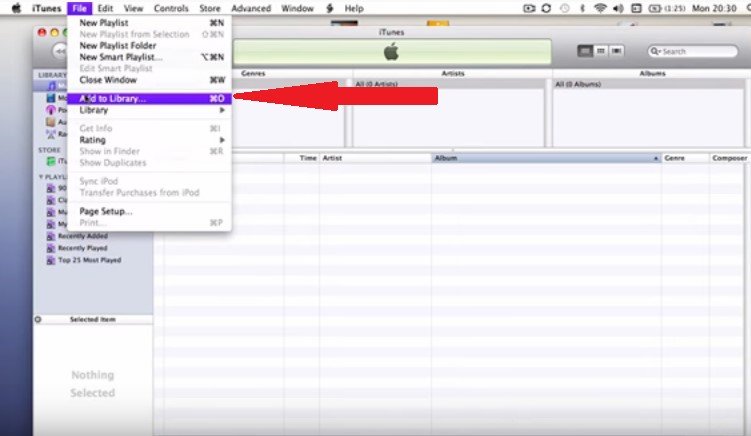
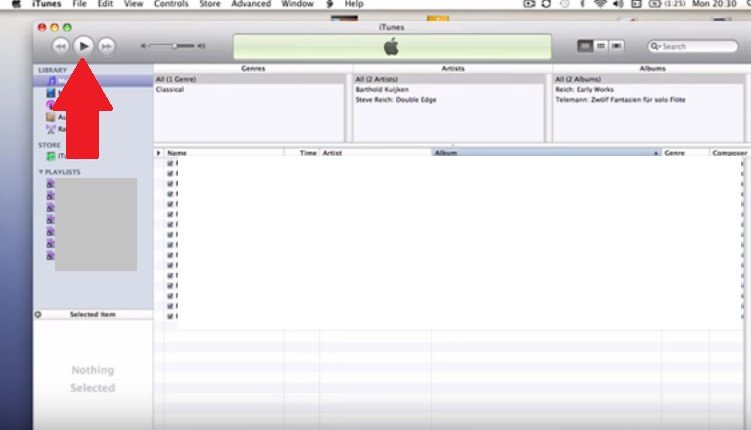
At this point, you have recovered all the songs. You should be able to play them. At the same time, it’s now safe to synchronize your iPod and Apple TV.
If you don’t want to deal with the issue of iTunes greying out songs, then you can resort to using a program like the DumpMedia Apple Music Converter. With this particular program, you can download the songs from your Apple Music right away. That way, you won’t have to play them on your iTunes and you won’t have to face the issue of songs such as being greyed out on it.

You can download any songs with the use of the DumpMedia Apple Music Converter. Even if you’re on a free trial on Apple Music, you can use the program to download any song. Bear in mind that the DumpMedia Apple Music Converter doesn’t just download a song but it also converts it to any format.
The reason for that is because the DumpMedia Apple Music Converter offers a wide array of file formats to choose from. As it converts songs, the DRM is removed. It’s a great program to make use of especially if you want to avoid issues with iTunes. You can learn more about it here.
It’s not a big deal if you see that iTunes has greyed out some songs. However, it could be annoying since you have to take some time to fix it. You can always avoid it if you choose to download the songs instead so that you could play them out of iTunes. Then again, that’s a choice you have to make.
Have you ever come across this issue? How did you resolve it? Share some of your tips with our readers so that they could learn from you as well.
