Do you love listening to music while driving your car? This article will teach you how to add Apple Music to Google Maps so you can enjoy your favorite tracks while navigating through the road!
Google Maps sure does know how to please its users. Before that, many users burn Apple Music to CDs and play them in their car, so the music and the audio navigation don’t fight each other. And because of that, they have now confidentially added a new feature on their app which can allow users to listen to their favorite tracks while navigating through their destination.
Now, you can enjoy your ride by listening to music and navigating through your way using one application only to avoid distractions. If you want to learn how to add Apple Music to Google Maps, this article is the right one for you.
Contents Guide Part 1. How to Add Apple Music to Google Map?Part 2. How to Listen to Apple Music Anywhere?Part 3. Conclusion
Before, if we want to enjoy our ride while navigating through the road using Google Maps, we still must switch between Apple Music and Google Maps just to keep ourselves entertained while riding the car.
But now that Google Maps has finally added Apple Music to their platform, listening to music while navigating towards your destination is much easier. With Google Maps' newest feature, you can now easily add Apple Music to Google Maps and listen to songs without any distractions at all.
Below are the different ways you can use to successfully add Apple Music to Google Maps:

By following the steps and methods we have provided above, you will surely have your favorite Apple Music blasting on your car while you navigate using Google Maps.
This new feature offered by Google Maps can help save many users the distraction of switching from one app to another just to navigate through the streets while keeping themselves entertained with Apple Music. Google Maps has made sure to let people add Apple Music to Google Maps to avoid distraction and accidents and people love it very much!
However, if you want to learn of a special method where you can listen to Apple Music anywhere and use any device you like, you can always feel free to read the rest of this article below.
If you want to continue listening to Apple Music anywhere, even while riding your car or riding the bus, you can use this special method of ours. This method can let you add Apple Music to Google Maps and can even let you listen to your favorite tracks from Apple Music no matter what kind of device you are using! Pretty impressive right? All you must do to achieve this is to download and install the best converting tool known as DumpMedia Apple Music Converter.
Yes! With the help of DumpMedia Apple Music Converter, you can easily remove the DRM tech that protects all forms of Apple Music media and convert it into a file format that you prefer to use.
It is also five times faster than other converting tools that are existing on the internet today. Moreover, this converting tool can even preserve the original quality of your audio so you can keep listening to high-quality music anytime you want and using any device you like!
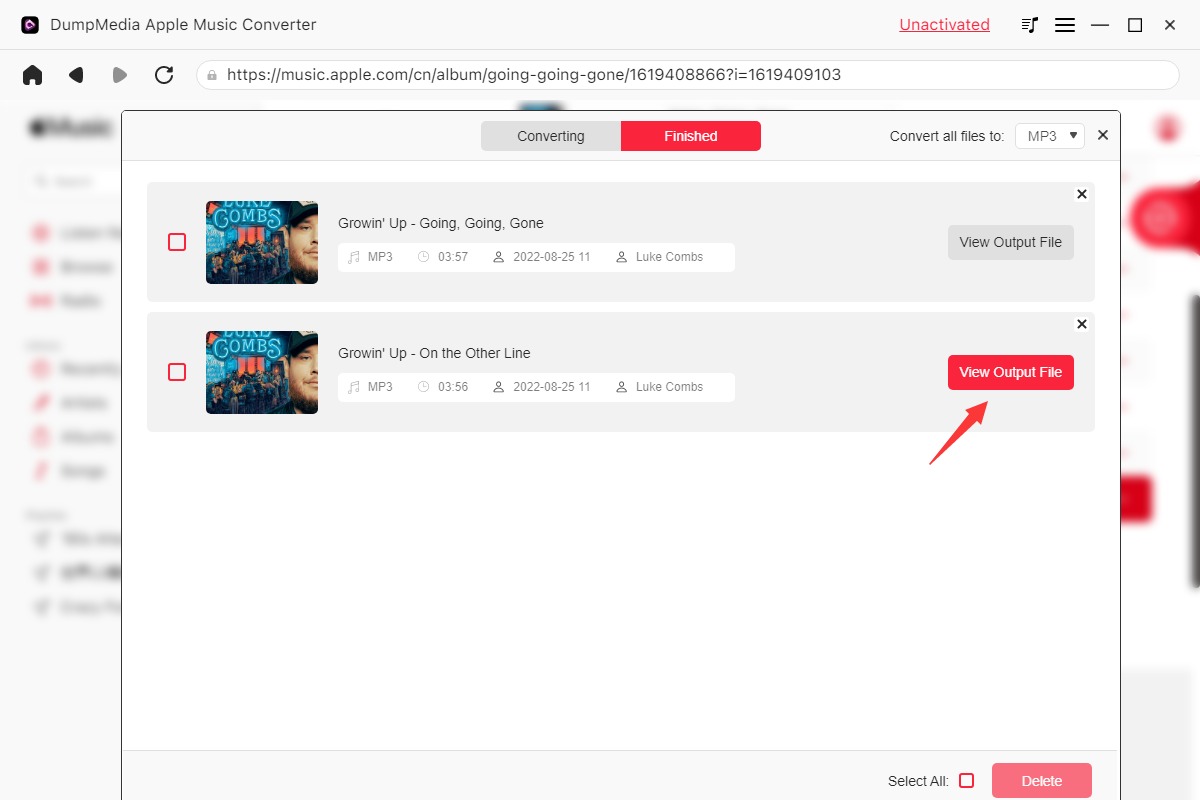
To use DumpMedia Apple Music Converter, follow the instructions provided below:


Now that you have a list of converted Apple Music songs on your computer, you can use a USB cable to transfer them to any device you want so you can continue listening to them anywhere you are.
Also, don’t forget that all of these are made possible by none other than DumpMedia Apple Music Converter. This converting tool is your key to removing the DRM tech on your Apple Music songs and converting them to a format compatible with your device.
Now that you have finally learned how to add Apple Music to Google Maps on your iOS or Android devices, we sure do hope you can continue listening to your favorite Apple Music tracks while you navigate through your destination.
And of course, if you want to listen to your favorite Apple Music tracks using any device you like and without paying for a subscription plan on Apple Music, you can always download and install DumpMedia Apple Music Converter. This converting tool is the best and can keep you entertained anytime and anywhere you are! So what are you waiting for? Download and install it on your device now!
