
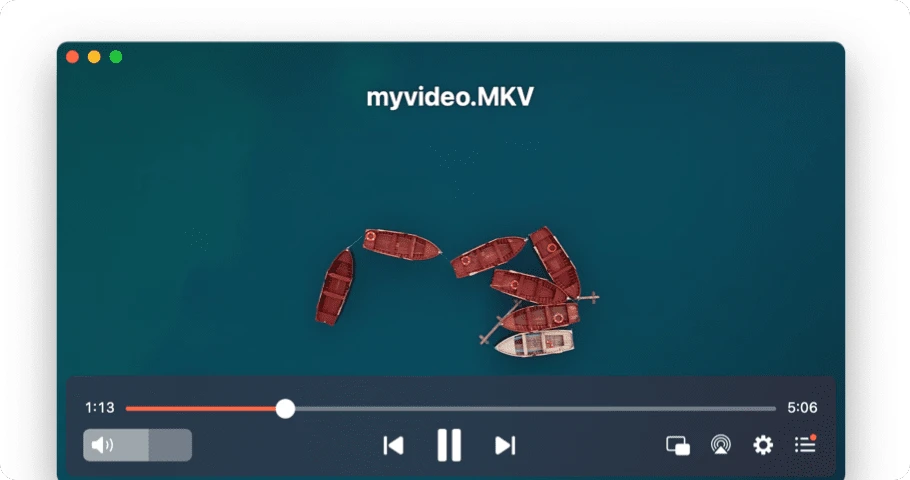
The default macOS media player, while functional, falls short in terms of features and format support compared to third-party media players. It lacks advanced playback and streaming options and supports a limited range of formats, prompting many Mac users to seek alternative media playback solution that offers greater versatility and functionality. Elmedia Player is one of the top alternatives that stands out in this space.
Elmedia Player is a versatile and powerful media player designed specifically for Mac. It handles many audio and video file formats, from common ones like MP4, AVI, M4V and MOV, to more obscure SWFs and FLVs. No additional codecs are required, you can trust Elmedia Player to open nearly any media file in your library.
This media player lets you create and manage playlists, work with bookmarks, and offers extended subtitle support as well. You can load subtitles in various formats, including .ssa, .srt, and .smil, customize subtitle size, font, and background during playback, and access the subtitle database directly from the app.
Elmedia features a sleek and easy-to-navigate interface. Additionally, it is highly customizable and comes with a range of settings to fine-tune audio and video files to perfection.
Fullscreen mode. Elmedia guarantees a smooth experience on any screen, offering both native macOS full-screen mode and a custom full-screen mode with multi-monitor feature.
Video tuner. You can tweak brightness, saturation, contrast, hue, gamma, sharpness, and other parameters for any video you play.
Screenshots capturing. If you want to take a screenshot of a moment in a video you're watching, Elmedia Player makes it easy. You can even record a series of screenshots at fixed intervals.
A-B loop. Mark any video segment and loop it endlessly for continuous playback.
Picture-in-picture mode. Elmedia Player can run in a small window above your other applications, making it great for multitasking. You can easily switch between picture-in-picture and full-screen modes as needed.
Deinterlacing. Improves the detail and sharpness of poor-quality videos, particularly those recorded with low-resolution cameras or older devices.
Audio and video sync. Elmedia Player provides an easy way to fix audio delays to perfectly match your video and subtitles.
Audio equalizer. A 10-band graphic equalizer allows you to adjust sound to your liking. Alternatively, you can try one of the available presets.
App-specific volume settings. Control the volume to suit your needs: turn off system sounds while keeping your music on.
Surround sound with AC-3/DTS. Elmedia Player supports AC-3/DTS hardware passthrough for an immersive surround sound experience on your Mac.
External tracks. With the ability to add external audio tracks, you can select different languages or a better dub to improve your viewing experience.
Besides its robust playback features, Elmedia Player is great for streaming media to smart TVs. It is compatible with AirPlay, Chromecast and DLNA-enabled devices, allowing seamless streaming of videos, music, and images from local devices to larger screens.
Elmedia Player offers both free and PRO versions, making it accessible to everyone. The free version includes essential features like playing various media formats, creating playlists, and working with subtitle files. For advanced features, you can upgrade to the PRO version for a one-time purchase of $19.95. This upgrade unlocks a variety of playback enhancement options, the ability to take screenshots, streaming to smart TVs and external speakers, etc.
The app is available for download from the official website and the Mac App Store. On the Mac App Store, it comes in two versions: a free version with in-app purchases (Elmedia Video Player) and a paid version (Elmedia: Universal Video Player).
Overall, Elmedia Player is a comprehensive media player for macOS, renowned for its versatility, performance, and ease of use. Its extensive feature set, high-quality playback and wide format support make it an excellent choice for anyone looking to enhance the media viewing experience.
But still, if you prefer to stick with the default macOS media player, QuickTime, but need to play unsupported formats, you can use a converter to make these files compatible. This allows you to enjoy a wider range of media without switching to a third-party player.
As the default player of Mac OS, QuickTime has lots of merits: It supports High Efficiency Video Coding formats such as H.264 and HEVC; On supported devices, QuickTime can use hardware acceleration to improve playback performance and reduce battery consumption; It supports a relatively wide range of formats, including some proprietary Apple file format like MOV.
However, QuickTime does not support many newer video formats, such as MKV, AVI, and WMV. To play these formats on QuickTime, you can use DumpMedia Video Converter to convert them into compatible formats.
DumpMedia Video Converter is an all-in-one audio and video converter, downloader, editor, and player. It has a friendly interface equipped with a lot of features to meet all of your video needs. DumpMedia Video Converter supports various input and output formats including MPEG, 3GP, FLV, MKV, AVI, WMV, MOV, MP4 along with other regular video formats.
Step 1: Download and install DumpMedia Video Converter
Step 2: Launch DumpMedia. Click on "Add File" from the menu bar, or just drag and drop the files onto the main screen of the app to import the files you want to convert.

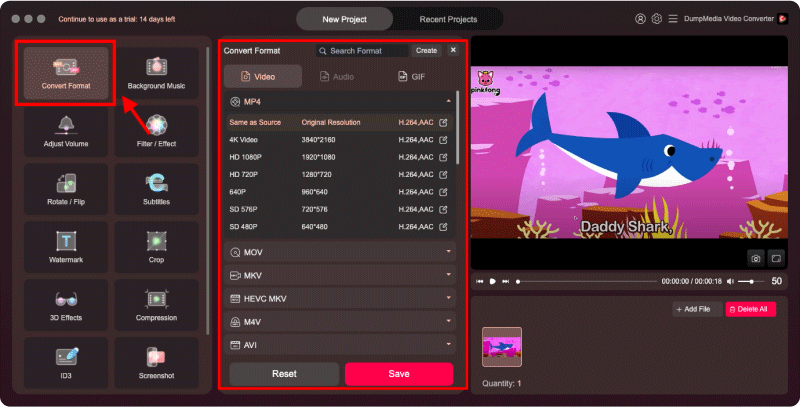
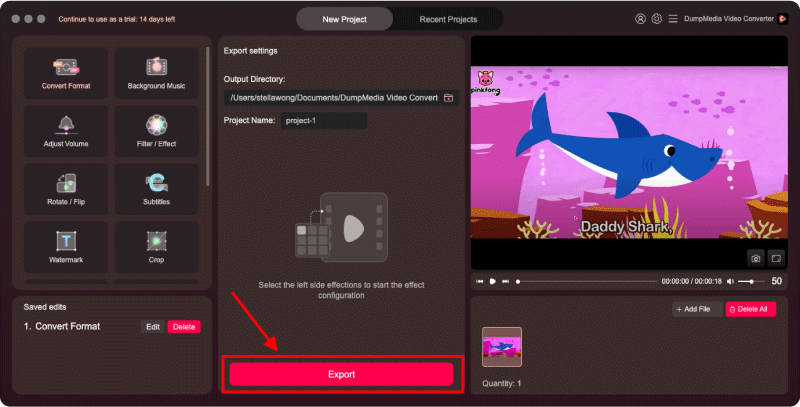
Step 3: Click on "Convert Format" in the menu on the left side of the interface. You will see the output formats and output qualities available wherein you can choose from. Select the format you want and click "Save". (Also, don't forget to change the setting of the "Output Directory" if you want your output file to be placed in a certain folder on your computer.)
Step 4: Click on the "Export" button. Then all you have to do is just waiting for the conversion process to finish.
After the conversion is finished, you can find the converted files in the output folder. Now you can enjoy them in Quicktime!
Mostbet, geniş oyun yelpazesiyle kullanıcılarına keyifli bir casino deneyimi sunmaktadır.
جرب الرهان بأفضل الاحتمالات مع 1xbet اليوم.
Откройте для себя разнообразие настольных игр и автоматов в Kent casino, где каждый найдет что-то для себя.
glory casino offers a wide selection of slot games, live casino, and exciting promotions.